The goal of this article is to show how to write a Zig OpenGL app that runs both natively on macOS and in a browser (thanks to WASM and tiny glue layer to bind OpenGL to WebGL).
What is Zig?
Zig is a relatively young and (as of now) far from mainstream language. But it is getting increasingly popular, with some notable projects like Bun using it to achieve great performance.
Zig is a system programming language, which means that it is a low level language like C or Rust. Although, it has a lot of modern features that C is lacking. It has very strong compile-time capabilities, allowing to call a function or manipulate types without runtime overhead. Talking about types, type in Zig can be a value and it’s a common pattern to pass types to functions.
In terms of syntax, the core ideas of Zig are no hidden control flow, no hidden memory allocations, no preprocessors and no macros. This leads to a quite low entry level. Having used C and C++ in the past, I was able to pick up the language very quickly and it didn’t take long before I started feeling that I have a good idea about the proper style of writing Zig.
Why would I want to use Zig for programming graphics?
This is quite straightforward. Zig is similar to C, which is relatively very good for writing graphics code, thanks to imperative programming and manual memory management. If anything, Zig is only taking that further, making it a great candidate.
Isn’t it WebGL in browsers? How am I using OpenGL?
I am not an expert and don’t want to go too much into detail, but they are almost the same API and it’s mostly straightforward to write a compatibility layer.
Who is this article for?
To be honest – I am not sure. I am trying to write it in a way that makes it approachable to people who don’t know Zig, but I also realize that being able to edit and use any of the code requires some Zig familiarity. I recommend giving it a try anyway, and if you end up liking it – that’s a good motivation to learn the language more.
Getting started
Now let’s get to code.
Environment and setup
NOTEBoth Zig and its tooling are rapidly changing (as of the first half of 2023) and the tools I am listing below already look and work a bit different than at the time I wrote a draft of this post. If anything becomes too outdated to the point of not working anymore – let me know!
I am using Zig version 0.10.0-dev.4060+61aaef0b0. I code in Visual Studio Code. I am using Zig language support and ZLS extension with ZLS installed from source, CodeLLDB for debugging.
The experience is really nice. Having all of the above, my code is autoformatted (like Prettier in the JS/TS ecosystem) and I have on-hover access to documentation comments and code suggestions coming from the project.
Starting a new Zig project
Create a new directory, enter it and run a command
zig init-exe
This will create build.zig file, which manages how the executable is created, and a placeholder src/main.zig file.
You can run
zig build run
to verify that Zig is configured properly on your machine.
Opening a window on macOS
The first thing we need to do is to tell our Zig project how to find external libraries that we will need to use OpenGL and to open the system Window.
I am using macOS and I installed GLFW using Homebrew (the library itself is cross-platform and can be used on Windows and Linux too). For OpenGL I found a path, it could be similar if you are also on macOS (make sure you have XCode installed). Unfortunately, I don’t know how those lines look on other platforms, but I can assume it should be somewhat similar.
const exe = b.addExecutable("blog-test", "src/main.zig");

+ exe.addIncludePath("/opt/homebrew/Cellar/glfw/3.3.7/include");
+ exe.addLibraryPath("/opt/homebrew/Cellar/glfw/3.3.7/lib");
+ exe.addFrameworkDir("/Applications/Xcode.app/Contents/Developer/Platforms/MacOSX.platform/Developer/SDKs/MacOSX.sdk/System/Library/Frameworks");

+ exe.linkFramework("OpenGL");
+ exe.linkSystemLibrary("glfw");

exe.setTarget(target);
exe.setBuildMode(mode);
exe.install();
This file will include C headers of GLFW and OpenGL.
pub usingnamespace @cImport({
    @cInclude("GLFW/glfw3.h");
    @cInclude("OpenGL/gl3.h");
});
While normally, I would say that as a convention we would import the c.zig file everywhere where we would need to call the C libraries, in case of cross-running in the browser, we will have a layer of abstraction on top of that. Enter platform.zig:
const builtin = @import("builtin");

pub const is_wasm = switch (builtin.cpu.arch) {
    .wasm32, .wasm64 => true,
    else => false,
};

pub usingnamespace if (is_wasm) @import("web.zig") else @import("c.zig");
Here we can see a beautiful illustration of Zig’s comptime powers.
We will also need bindings that map our OpenGL Zig API to WebGL. A mature solution to the problem would be to use a more modern solution, like Dawn, and leverage WebGPU. However, in the case of this simple hobby hack, I just hand-wrote bindings for the functions I used.
Save this file and add it to your project’s /src directory: web.zig.
Next: the main.zig file. This is the one used for running the native app.
const std = @import("std");
const c = @import("platform.zig");

fn errorCallback(err: c_int, description: [*c]const u8) callconv(.C) void {
    _ = err;
    std.log.err("GLFW Error: {s}", .{description});
}

// Function that creates a window using GLFW.
pub fn createWindow(width: i32, height: i32) !*c.GLFWwindow {
    var window: *c.GLFWwindow = undefined;

    _ = c.glfwSetErrorCallback(errorCallback);

    if (c.glfwInit() == c.GL_FALSE) {
        std.debug.panic("Failed to initialize GLFW", .{});
    }

    c.glfwWindowHint(c.GLFW_OPENGL_PROFILE, c.GLFW_OPENGL_CORE_PROFILE);

    // MSAA.
    c.glfwWindowHint(c.GLFW_SAMPLES, 4);

    // Needed on MacOS.
    c.glfwWindowHint(c.GLFW_OPENGL_FORWARD_COMPAT, c.GL_TRUE);

    c.glfwWindowHint(c.GLFW_CONTEXT_VERSION_MAJOR, 3);
    c.glfwWindowHint(c.GLFW_CONTEXT_VERSION_MINOR, 3);

    window = c.glfwCreateWindow(width, height, "hello-world", null, null) orelse {
        std.log.err("Failed to create window", .{});
        return error.FailedToCreateWindow;
    };

    c.glfwMakeContextCurrent(window);

    return window;
}

pub fn main() !void {
    const width = 800;
    const height = 600;

    const window_handler = try createWindow(width, height);

    while (c.glfwWindowShouldClose(window_handler) == c.GL_FALSE) {
        c.glfwSetTime(0);

        c.glViewport(0, 0, width, height);
        c.glClearColor(1, 0, 1, 1);
        c.glClear(c.GL_COLOR_BUFFER_BIT | c.GL_DEPTH_BUFFER_BIT);

        c.glfwSwapBuffers(window_handler);
        c.glfwPollEvents();
    }
}
If everything went right, you should be able to
zig build run
and see a window with a pink background.
OpenGL hello world
Add another file: shader.zig. This contains utils for compiling and linking shaders in OpenGL and WebGL.
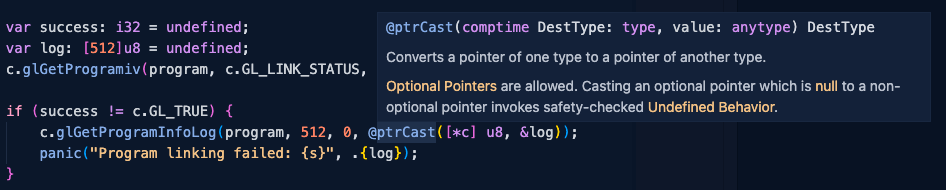
Add another file (used by shader.zig to crash the app if shaders could not be compiled):
const std = @import("std");
const is_wasm = @import("platform.zig").is_wasm;

pub extern fn throwError(_: [*]const u8, _: c_uint) void;

fn panic_wasm(comptime format: []const u8, args: anytype) void {
    var buffer: [1024]u8 = undefined;
    var text_buffer = std.fmt.bufPrint(&buffer, format, args) catch return;
    throwError(text_buffer.ptr, text_buffer.len);
}

pub const panic = if (is_wasm) panic_wasm else std.debug.panic;
Add the following in src/main.zig:
const c = @import("platform.zig");
+ const shader = @import("shader.zig");
+
+ const vertices = [_]f32{ -1.0, -1.0, 1.0, -1.0, 0.0, 1.0 };
+
+ const vertex_shader_source =
+     \\#version 330 core
+     \\in vec4 a_position;
+     \\
+     \\void main() {
+     \\    gl_Position = a_position;
+     \\}
+ ;
+ const fragment_shader_source =
+     \\#version 330 core
+     \\
+     \\precision highp float;
+     \\out vec4 outColor;
+     \\
+     \\void main() {
+     \\    outColor = vec4(1.0, 0.0, 1.0, 1.0);
+     \\}
+ ;
+
fn errorCallback(err: c_int, description: [*c]const u8) callconv(.C) void {
This is a basic shader which will render provided mesh in pink color, without any 3D transformations.
And now we will replace a big chunk of code starting from window_handler up to c.glfwSwapBuffers call.
    const window_handler = try createWindow(width, height);

+    var framebuffer_width: i32 = undefined;
+    var framebuffer_height: i32 = undefined;
+    c.glfwGetFramebufferSize(window_handler, &framebuffer_width, &framebuffer_height);
+
+    const vertex_shader = shader.compileShader(vertex_shader_source, c.GL_VERTEX_SHADER);
+    const fragment_shader = shader.compileShader(fragment_shader_source, c.GL_FRAGMENT_SHADER);
+    const program = shader.createProgram(vertex_shader, fragment_shader);
+
+    c.glUseProgram(program);
+
+    var vao: u32 = undefined;
+    c.glGenVertexArrays(1, &vao);
+    defer c.glDeleteVertexArrays(1, &vao); // Clean up in the end of main().
+
+    var position_buffer: u32 = undefined;
+    c.glGenBuffers(1, &position_buffer);
+    defer c.glDeleteBuffers(1, &position_buffer); // Clean up in the end of main().
+
+    c.glBindVertexArray(vao);
+
+    c.glBindBuffer(c.GL_ARRAY_BUFFER, position_buffer);
+    c.glBufferData(c.GL_ARRAY_BUFFER, @intCast(isize, @sizeOf(c.GLfloat) * vertices.len), &vertices[0], c.GL_STATIC_DRAW);
+    _ = shader.getAttributeLocation(program, 2, "a_position");
+
+    while (c.glfwWindowShouldClose(window_handler) == c.GL_FALSE) {
+        c.glViewport(0, 0, framebuffer_width, framebuffer_height);
+        c.glClearColor(0, 0, 0, 1);
+        c.glClear(c.GL_COLOR_BUFFER_BIT | c.GL_DEPTH_BUFFER_BIT);
+
+        c.glBindVertexArray(vao);
+        c.glDrawArrays(c.GL_TRIANGLES, 0, 3);
+        c.glBindVertexArray(0);

        c.glfwSwapBuffers(window_handler);
I would love to explain all of it, but I’ll keep this post manageably short.
I will just say that here we initialize shaders, create Vertex Array Object, create a buffer where we store our triangle mesh. Please note the defer c.glDeleteBuffers(...) line. This is another showcase of a handy Zig feature, where we group lines contextually but in the end achieve correct imperative order of cleanups. Then there is the main loop where I repeatedly clear the screen, bind the VAO and draw triangles.
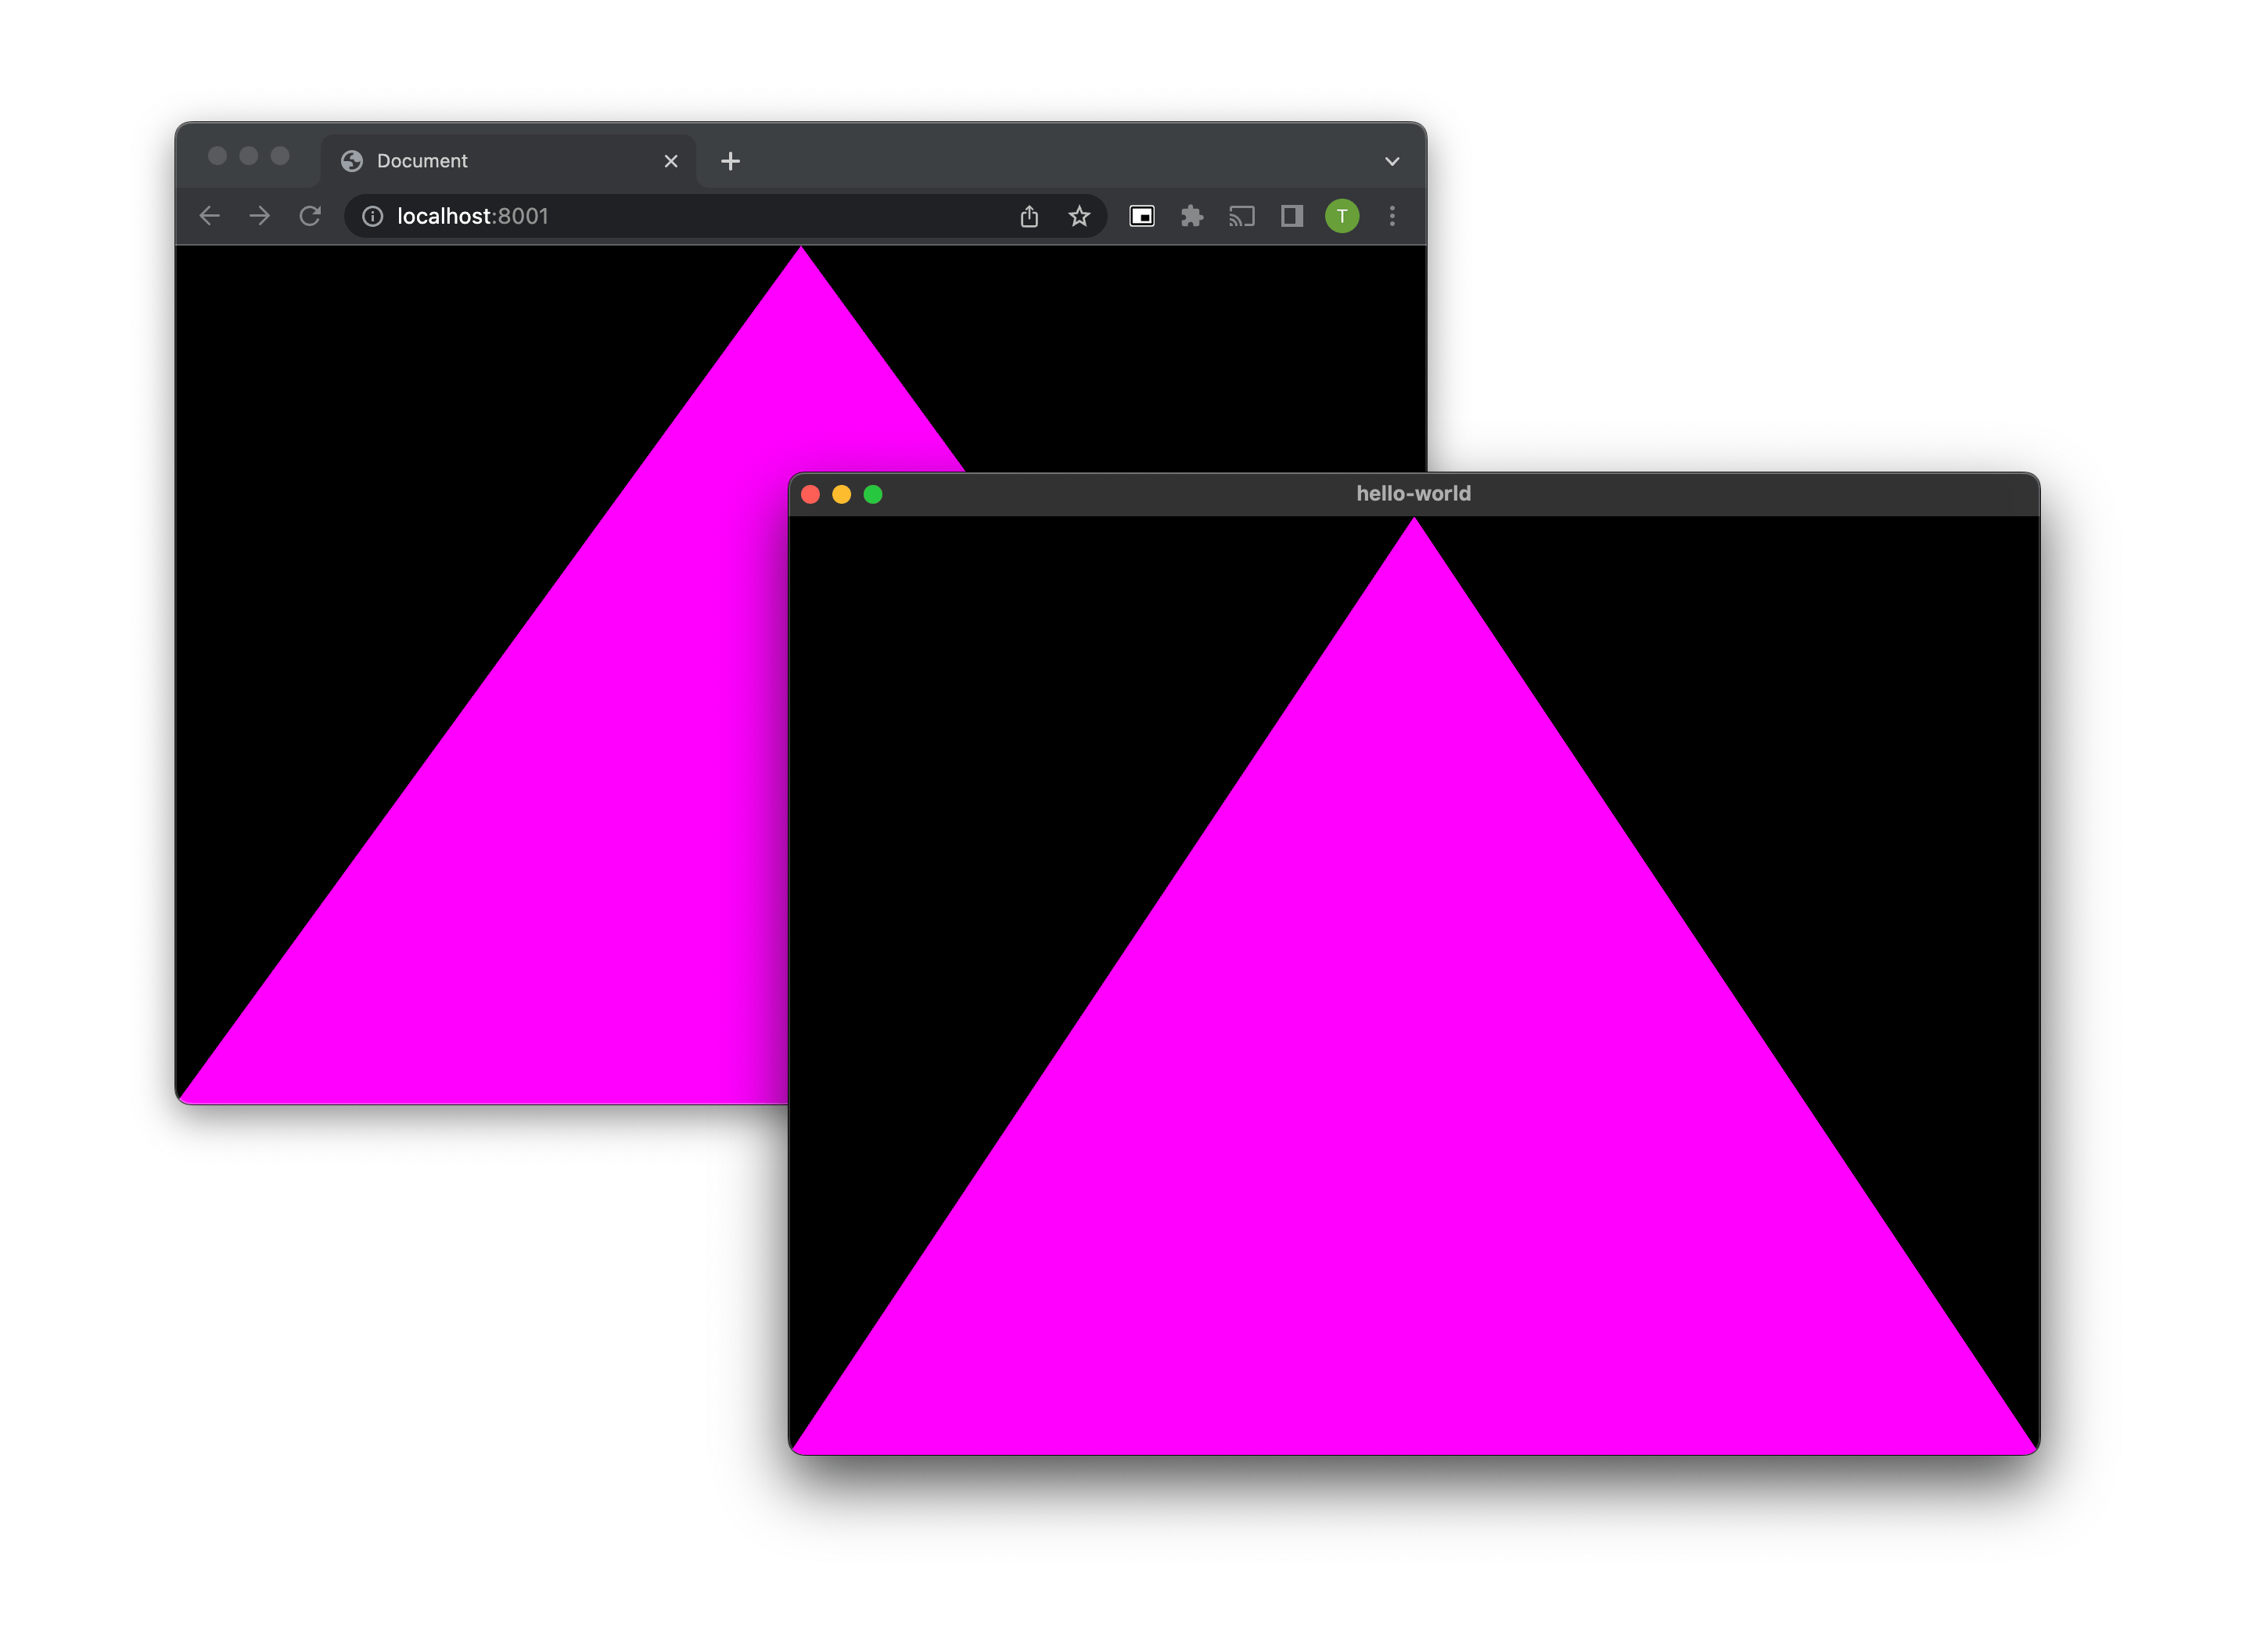
Render the same in browser
Now comes the real fun. Using almost 100% the same code to achieve exact same result in browser.
What differs:
- One
main()function is now split into two, because I need a separate function to provide torequestAnimationFrame(). - Because of the above, some variables are lifted up to the global context.
- Window management part is gone because it now happens in the browser.
Everything else stays absolutely the same and it’s amazing.
const std = @import("std");
const c = @import("platform.zig");
const shader = @import("shader.zig");

const vertices = [_]f32{ -1.0, -1.0, 1.0, -1.0, 0.0, 1.0 };

const vertex_shader_source =
    \\#version 300 es
    \\
    \\in vec4 a_position;
    \\
    \\void main() {
    \\    gl_Position = a_position;
    \\}
;
const fragment_shader_source =
    \\#version 300 es
    \\
    \\precision highp float;
    \\out vec4 outColor;
    \\
    \\void main() {
    \\    outColor = vec4(1.0, 0.0, 1.0, 1.0);
    \\}
;

var vao: u32 = undefined;
var program: u32 = undefined;

var width: f32 = undefined;
var height: f32 = undefined;
var scale: f32 = undefined;

fn onInit() !void {
    width = c.getWidth();
    height = c.getHeight();
    scale = c.getScale();

    const vertex_shader = shader.compileShader(vertex_shader_source, c.GL_VERTEX_SHADER);
    const fragment_shader = shader.compileShader(fragment_shader_source, c.GL_FRAGMENT_SHADER);
    program = shader.createProgram(vertex_shader, fragment_shader);

    c.glGenVertexArrays(1, &vao);

    var position_buffer: u32 = undefined;
    c.glGenBuffers(1, &position_buffer);

    c.glBindVertexArray(vao);

    c.glBindBuffer(c.GL_ARRAY_BUFFER, position_buffer);
    c.glBufferData(c.GL_ARRAY_BUFFER, @intCast(isize, @sizeOf(c.GLfloat) * vertices.len), &vertices[0], c.GL_STATIC_DRAW);
    _ = shader.getAttributeLocation(program, 2, "a_position");
}

fn onAnimationFrame() !void {
    c.glViewport(0, 0, @floatToInt(u32, width * scale), @floatToInt(u32, height * scale));
    c.glClearColor(0, 0, 0, 1);
    c.glClear(c.GL_COLOR_BUFFER_BIT | c.GL_DEPTH_BUFFER_BIT);

    c.glUseProgram(program);

    c.glBindVertexArray(vao);
    c.glDrawArrays(c.GL_TRIANGLES, 0, 3);
    c.glBindVertexArray(0);
}

export fn onInit_export() void {
    onInit() catch return;
}

export fn onAnimationFrame_export() void {
    onAnimationFrame() catch return;
}
<!doctype html>
<html lang="en">
  <head>
    <meta charset="UTF-8" />
    <meta http-equiv="X-UA-Compatible" content="IE=edge" />
    <meta name="viewport" content="width=device-width, initial-scale=1.0" />
    <title>Document</title>
    <style>
      body {
        margin: 0;
        overflow: hidden;
      }
    </style>
  </head>
  <body>
    <canvas id="canvas"></canvas>
    <script src="webgl.js"></script>
    <script>
      let memory = null;

      // This gives Zig side ability to print to browser console.
      const consoleLog = (pointer, length) => {
        console.log(readString(pointer, length));
      };

      // This gives Zig side ability to throw errors.
      const throwError = (pointer, length) => {
        console.error(readString(pointer, length));
        debugger;
      };

      const readString = (pointer, length) => {
        if (!memory) {
          return null;
        }

        // Memory in WASM is one big buffer. We can read a string
        // from the Zig/WASM space if we know the pointer and
        // length.
        return new TextDecoder().decode(
          new Uint8Array(memory.buffer, pointer, length),
        );
      };

      const getScale = () => {
        return window.devicePixelRatio;
      };

      const getWidth = () => {
        return window.innerWidth;
      };

      const getHeight = () => {
        return window.innerHeight;
      };

      const width = window.innerWidth;
      const height = window.innerHeight;

      const canvas = document.getElementById("canvas");
      canvas.width = width * getScale();
      canvas.height = height * getScale();
      canvas.style.width = `${width}px`;
      canvas.style.height = `${height}px`;

      // Start app.
      fetch("main_web.wasm")
        .then((response) => response.arrayBuffer())
        .then((bytes) =>
          WebAssembly.instantiate(bytes, {
            // Here we provide functions that can be used on the Zig
            // side.
            env: {
              ...webgl,
              consoleLog,
              throwError,
              readString,
              getScale,
              getWidth,
              getHeight,
            },
          }),
        )
        .then((results) => {
          const { instance } = results;
          memory = instance.exports.memory;

          instance.exports.onInit_export();
          const onAnimationFrame_export =
            instance.exports.onAnimationFrame_export;

          function step() {
            onAnimationFrame_export();
            window.requestAnimationFrame(step);
          }

          window.requestAnimationFrame(step);
        });
    </script>
  </body>
</html>
JavaScript side of the WebGL bindings: webgl.js. Save them to /web directory.
Directory structure:
├── build.zig
├── src
│   ├── c.zig
│   ├── main.zig
│   ├── main_web.zig
│   ├── panic.zig
│   ├── platform.zig
│   ├── shader.zig
│   ├── web.zig
└── web
    ├── index.html
    └── webgl.js
Web app
For building the WASM module, run the following inside the /web directory:
zig build-lib -target wasm32-freestanding -dynamic ../src/main_web.zig --name main_web
This will create the file /web/main_web.wasm which will be then requested from the HTML file.
I am using Python for serving the files locally from the /web directory:
python3 -m http.server 8001
Done
You can check the whole code here: GitHub.
Conclusions
In this article, I used Zig to run a graphics app that works on both macOS and browser, using the same codebase. There is absolutely no performance hit for the native app (as opposed to doing the other way round i.e. running an Electron app), and presumably some speed up in the browser version with even bigger potential the more memory management comes into play.
Cool resources
- Zig WASM DOM – invaluable example of how to pass functions between Zig and JS.
- zig-wasm-test – another example of using Zig in WASM.